
Overview
This post covers how to set up a Spring 5 development environment.
Introduction
Maybe I’m just unlucky, but whenever I work on a side project the teammate who was supposed to handle server development tends to disappear. After going through all the effort of team building, planning, and starting the project, the deserters start showing up around the three-week mark.
Of course I understand that juggling a side project alongside a day job is tough. Still, since everyone is squeezing time out of their busy schedules, it would be nice if we could all see it through to the end. So I decided to stop trying to build teams for side projects and just handle server development on my own. After all, everyone starts by diving headfirst into unfamiliar territory, right?
The problem was that I had no idea where to begin, so I went to a bookstore and picked up a book that caught my eye. It was “Spring 5 Programming for Beginner Web Developers” by Choi Beomgyun. I hope studying this book will give me a general understanding of server development with the Spring Framework.
I plan to document all my trial and error while studying the Spring Framework through the “Recklessly Learning Spring Development” series. So let’s kick things off with the first step: setting up the Spring 5 development environment.
Steps
1. Install JDK 8
- Download and install Java SE Development Kit 8.
- The version at the time of writing was 8u251.
- You may need to set up environment variables separately – look it up and handle this step on your own.
- Run the following command to verify that the JDK was installed correctly.
java -version
java version "1.8.0_251"
Java(TM) SE Runtime Environment (build 1.8.0_251-b08)
Java HotSpot(TM) 64-Bit Server VM (build 25.251-b08, mixed mode)
2. Install Maven
- Go to the Apache Maven Project and download the binary archive (tar.gz).
- The version at the time of writing was 3.6.3.
- Run the following command to extract the archive and move the apache-maven-3.6.3 folder to an
appropriate location.
tar xzf apache-maven-3.6.3-bin.tar.gz
- To use the mvn command, you need to set up environment variables. Since I use zsh, I opened
.zshrcand configured it as follows.
vi ~/.zshrc
- Set the path to the
appropriate locationwhere you moved the Maven folder. Since I moved it to Library, I set it to {HOME}/Library/apache-maven-3.6.3.
export MVN=${HOME}/Library/apache-maven-3.6.3
export PATH=$PATH:${MVN}/bin
- Then run the following command to reload the zshrc file.
source ~/.zshrc
- Once that is done, run the following command to verify that the mvn command works properly.
mvn -version
Maven home: /Users/dongwook/Library/Apache-maven-3.6.3
Java version: 1.8.0_251, vendor: Oracle Corporation, runtime: /Library/Java/JavaVirtualMachines/jdk1.8.0_251.jdk/Contents/Home/jre
Default locale: ko_KR, platform encoding: UTF-8
OS name: "mac os x", version: "10.15.4", arch: "x86_64", family: "mac"
3. Install Gradle
- Gradle can be installed via Homebrew.
- The version at the time of writing was 6.3.
brew install gradle
- Once the installation is complete, run the following command to verify that Gradle was installed correctly.
gradle -version
Welcome to Gradle 6.3!
..omitted..
Build time:   2020-03-24 19:52:07 UTC
Revision:     bacd40b727b0130eeac8855ae3f9fd9a0b207c60
Kotlin:       1.3.70
Groovy:       2.5.10
Ant:          Apache Ant(TM) version 1.10.7 compiled on September 1 2019
JVM:          13.0.2 (Oracle Corporation 13.0.2+8)
OS:           Mac OS X 10.15.4 x86_64
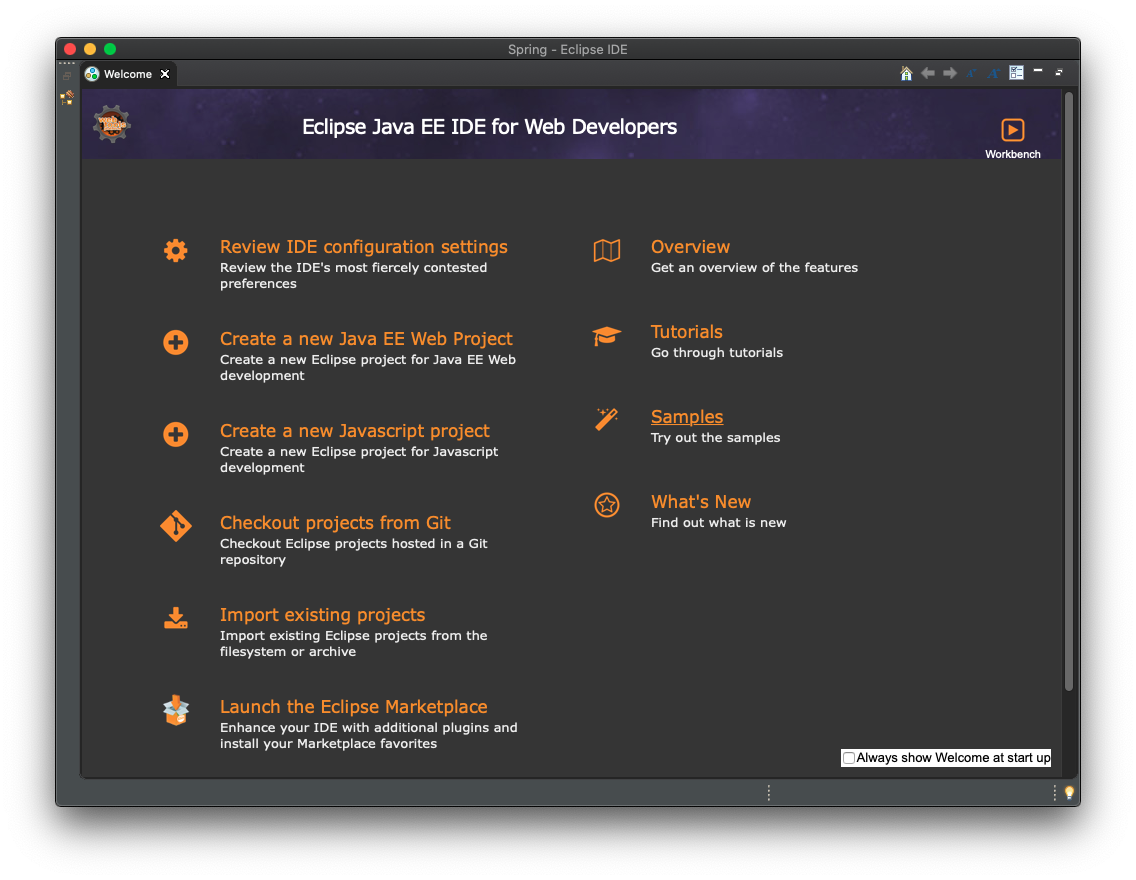
4. Install Eclipse
- Go to the Eclipse Foundation website and download and install Eclipse.
- I chose Eclipse IDE for Enterprise Java Developers.
- Once the installation is complete, verify that Eclipse launches normally as shown below.
Wrapping Up
If you have made it this far, the Spring 5 development environment setup is complete. Coming from iOS development, the unfamiliar setup process took longer than I expected.
That’s it for today. Next time I will create a project and print the legendary Hello, World!.


Leave a comment