
Overview
Modifying a Sonoff SNZB-04 Zigbee door sensor by wiring a thin-film contact sensor to its reed switch for chair and kitchen mat presence detection automation.
Steps
I came across a group buy for thin-film contact sensors on a Korean smart home community. The idea was simple — place a thin-film contact sensor under a chair cushion or a kitchen step mat, and use it to detect whether someone is sitting or standing. I immediately bought some and decided to wire them into Zigbee door sensors for home automation.
1. How It Works
The Sonoff SNZB-04 is a Zigbee-based door/window sensor. Inside it, there’s a reed switch that closes when a magnet is nearby, reporting a “closed” state to the hub. When the magnet moves away, the reed switch opens and reports “open.” It’s a very simple mechanism.
By wiring a thin-film contact sensor to the reed switch’s contacts, you can open and close the circuit with pressure instead of a magnet. When someone sits or stands on the thin-film contact sensor, the circuit closes and the door sensor reports “closed.” When they get up, the circuit opens and it reports “open.” Use this as an automation trigger in a smart home platform like SmartThings, and you’ve got yourself a presence detection sensor.
2. Materials
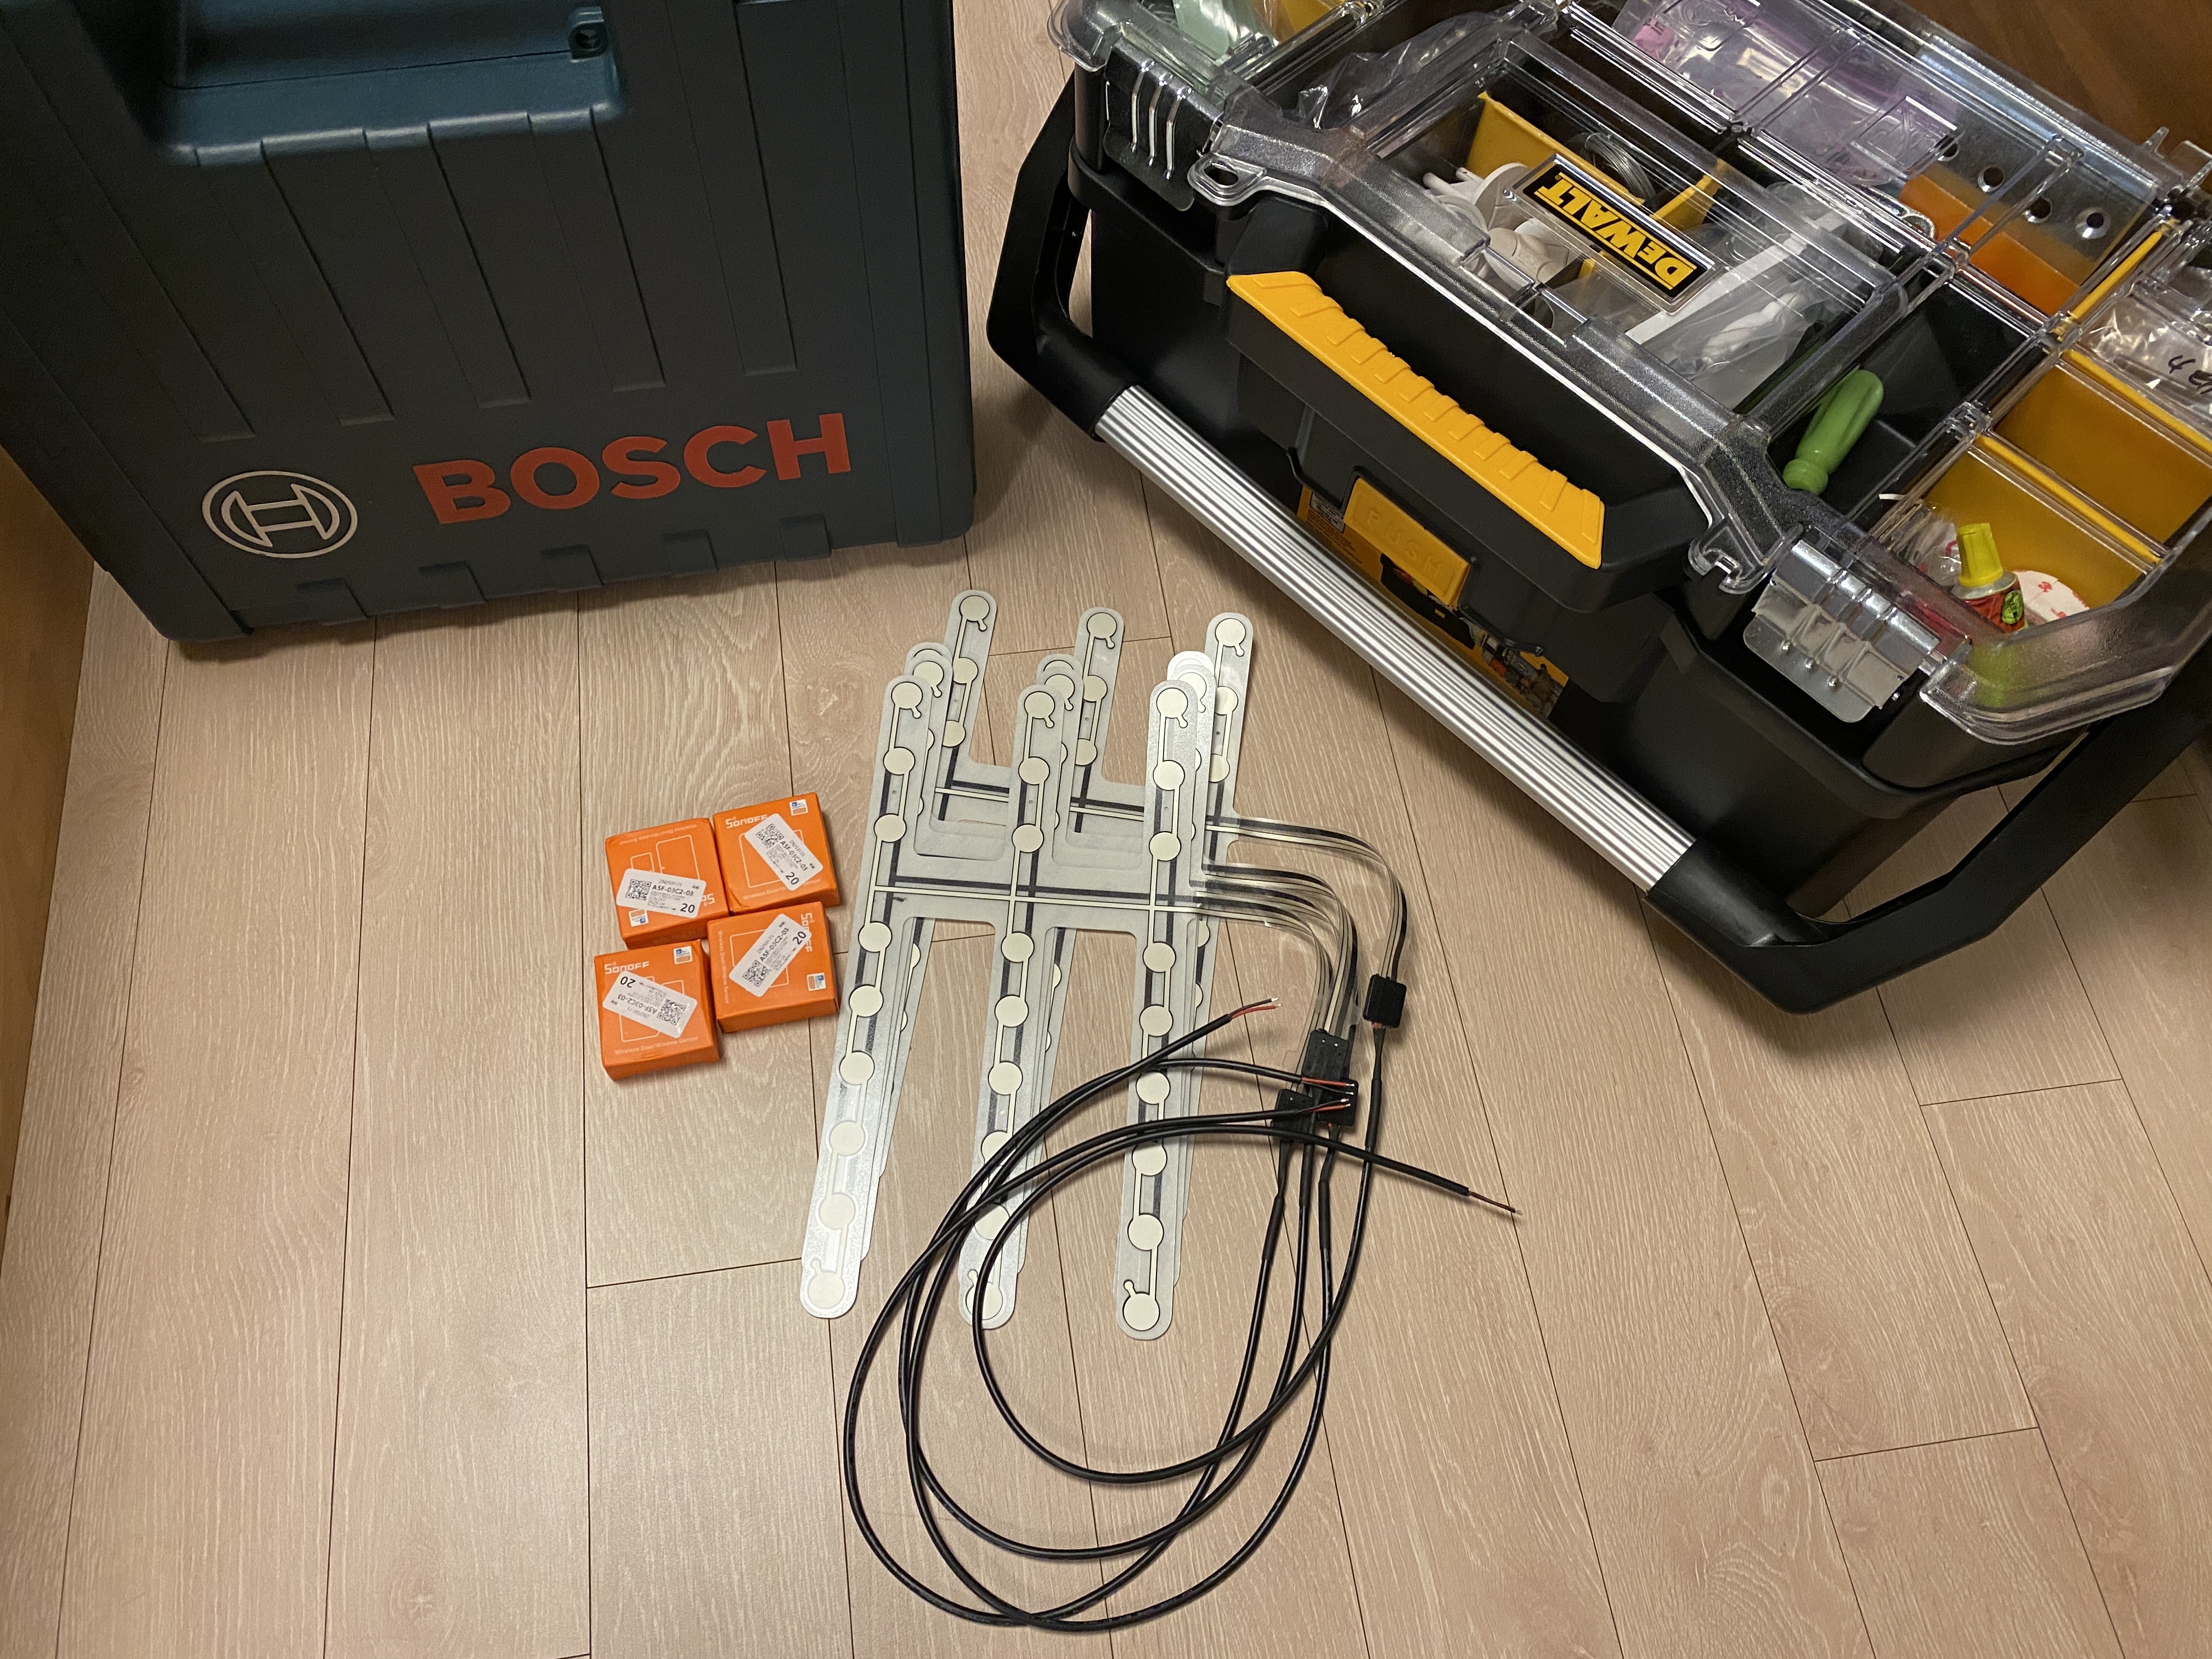
Here are the tools and parts needed for the job.
- Thin-film contact sensor (from community group buy)
- Sonoff SNZB-04 Zigbee door sensor
- Drill (for making a cable hole in the case)
- 2-conductor wire
- Screwdriver, scissors, etc.
The thin-film contact sensors were inexpensive through the group buy, and the Sonoff SNZB-04 costs only a few dollars each, keeping the total cost low.
3. Disassembly
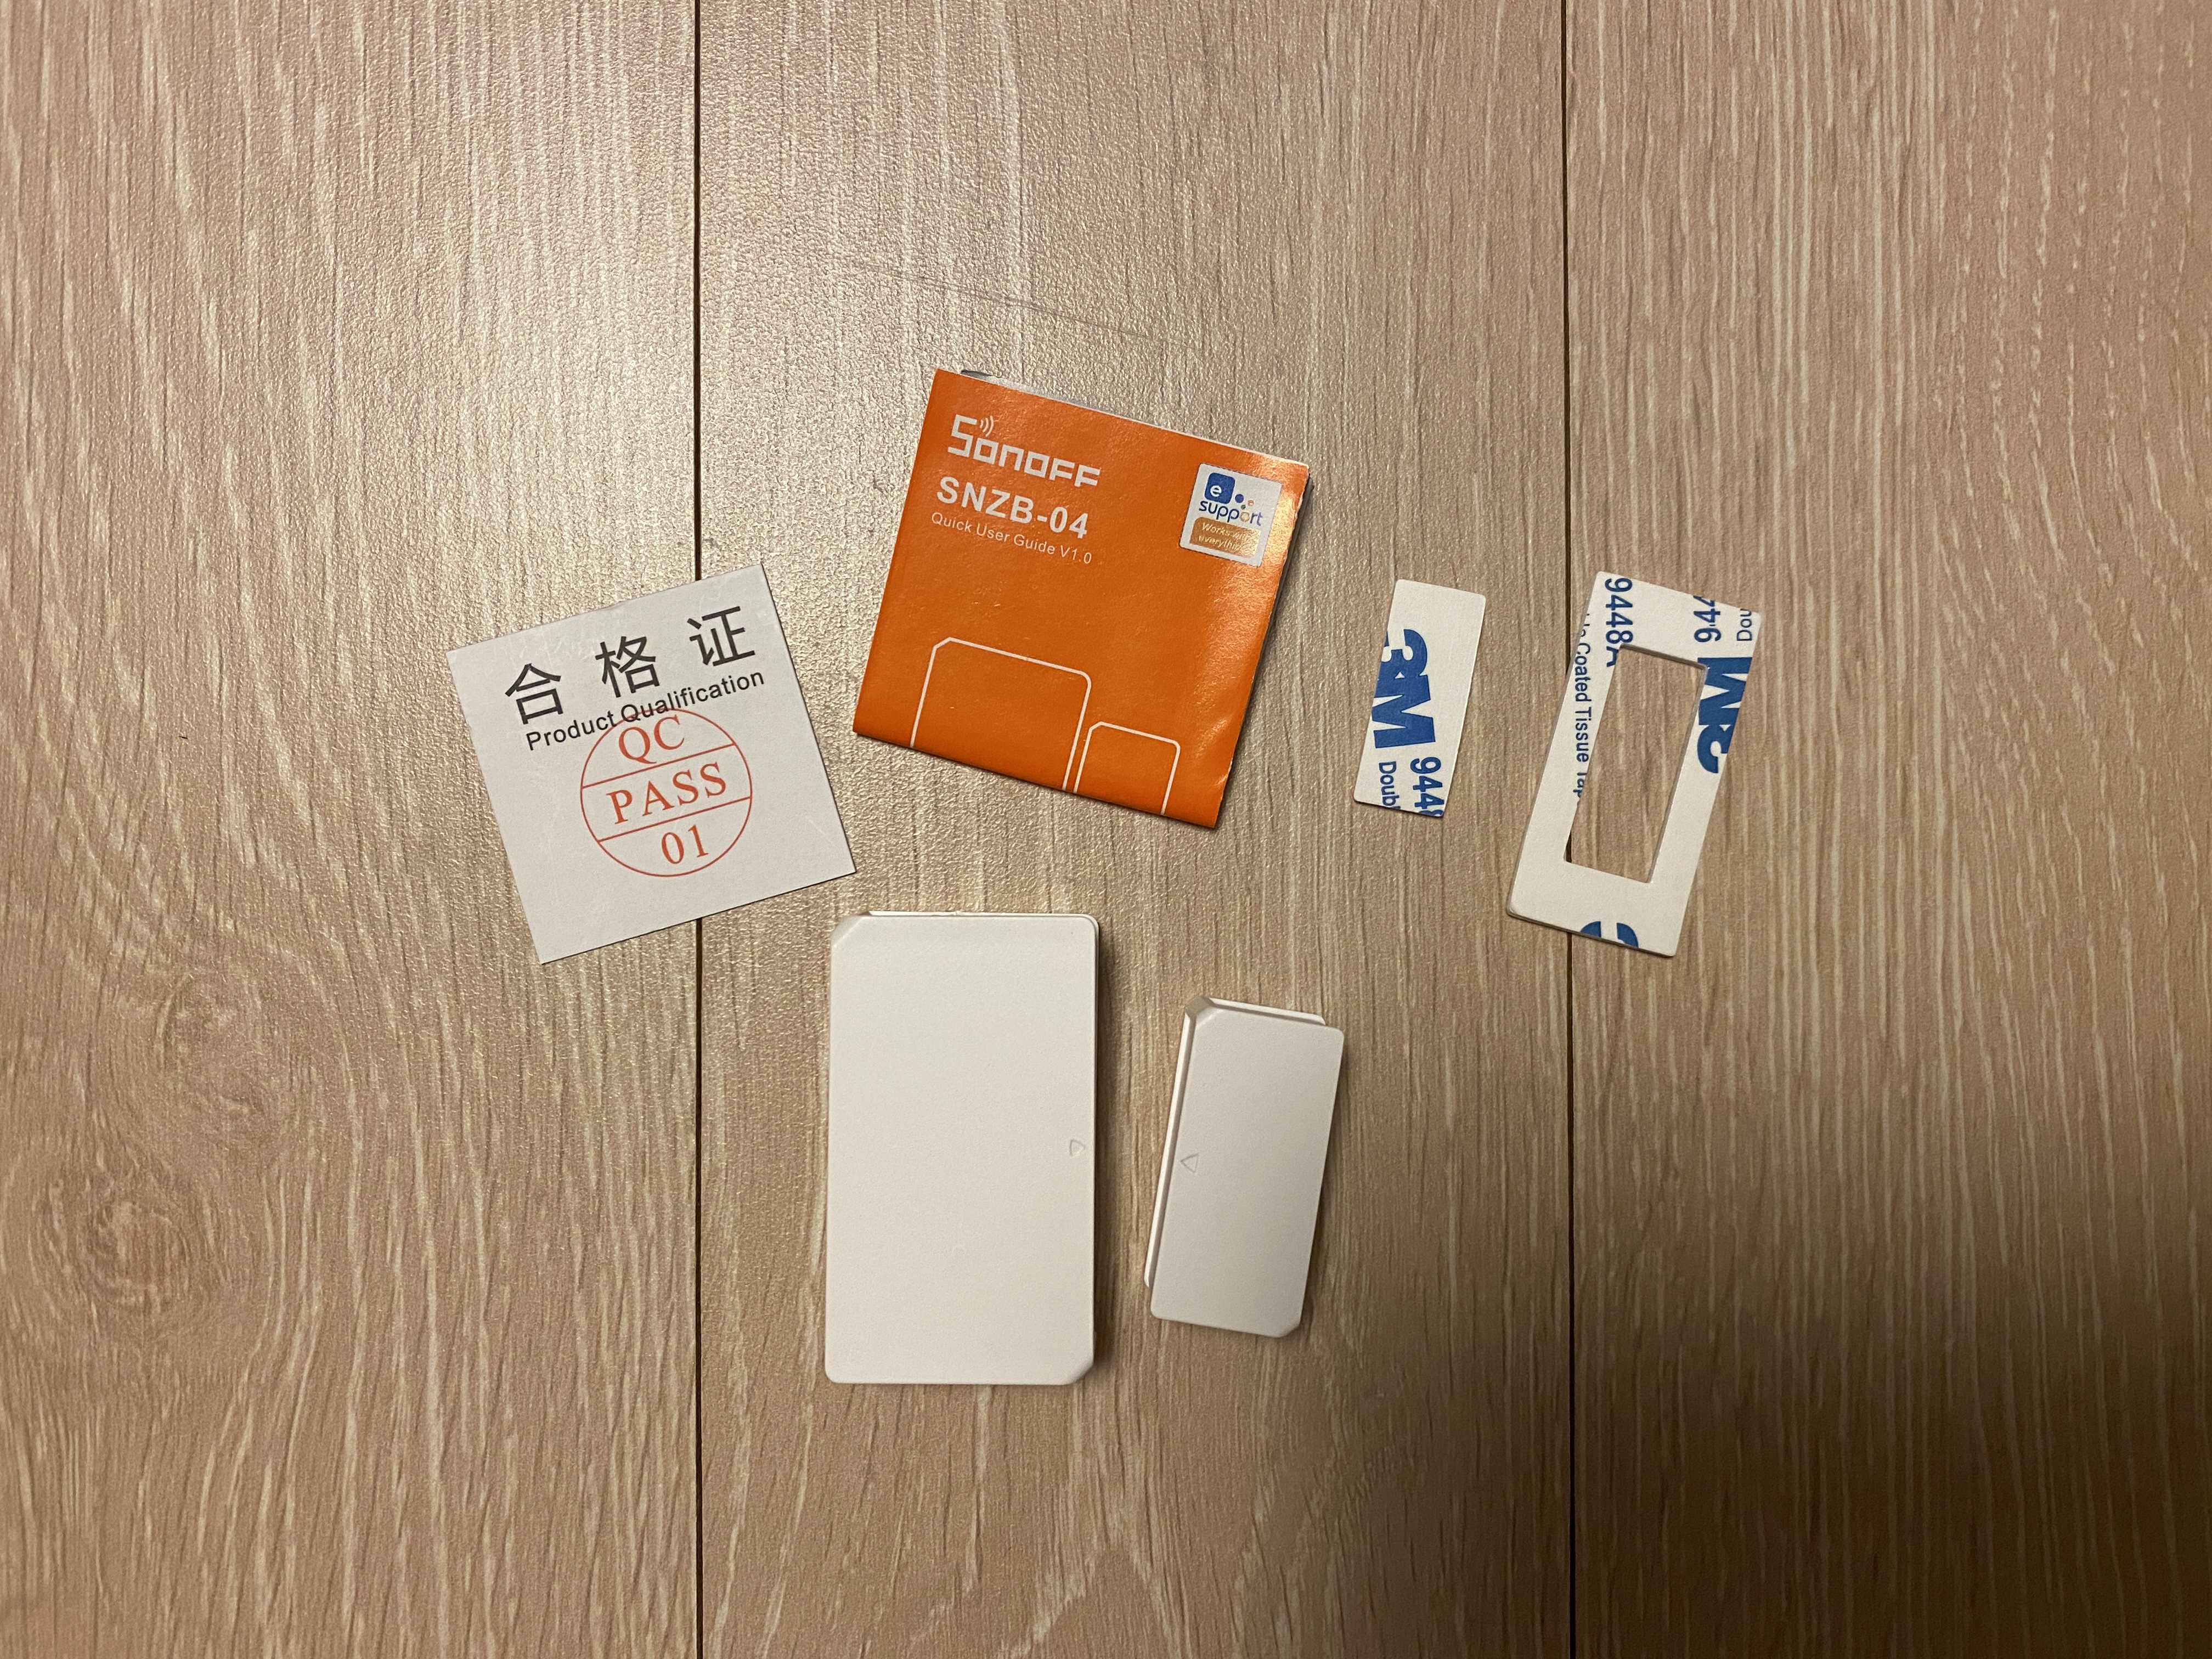
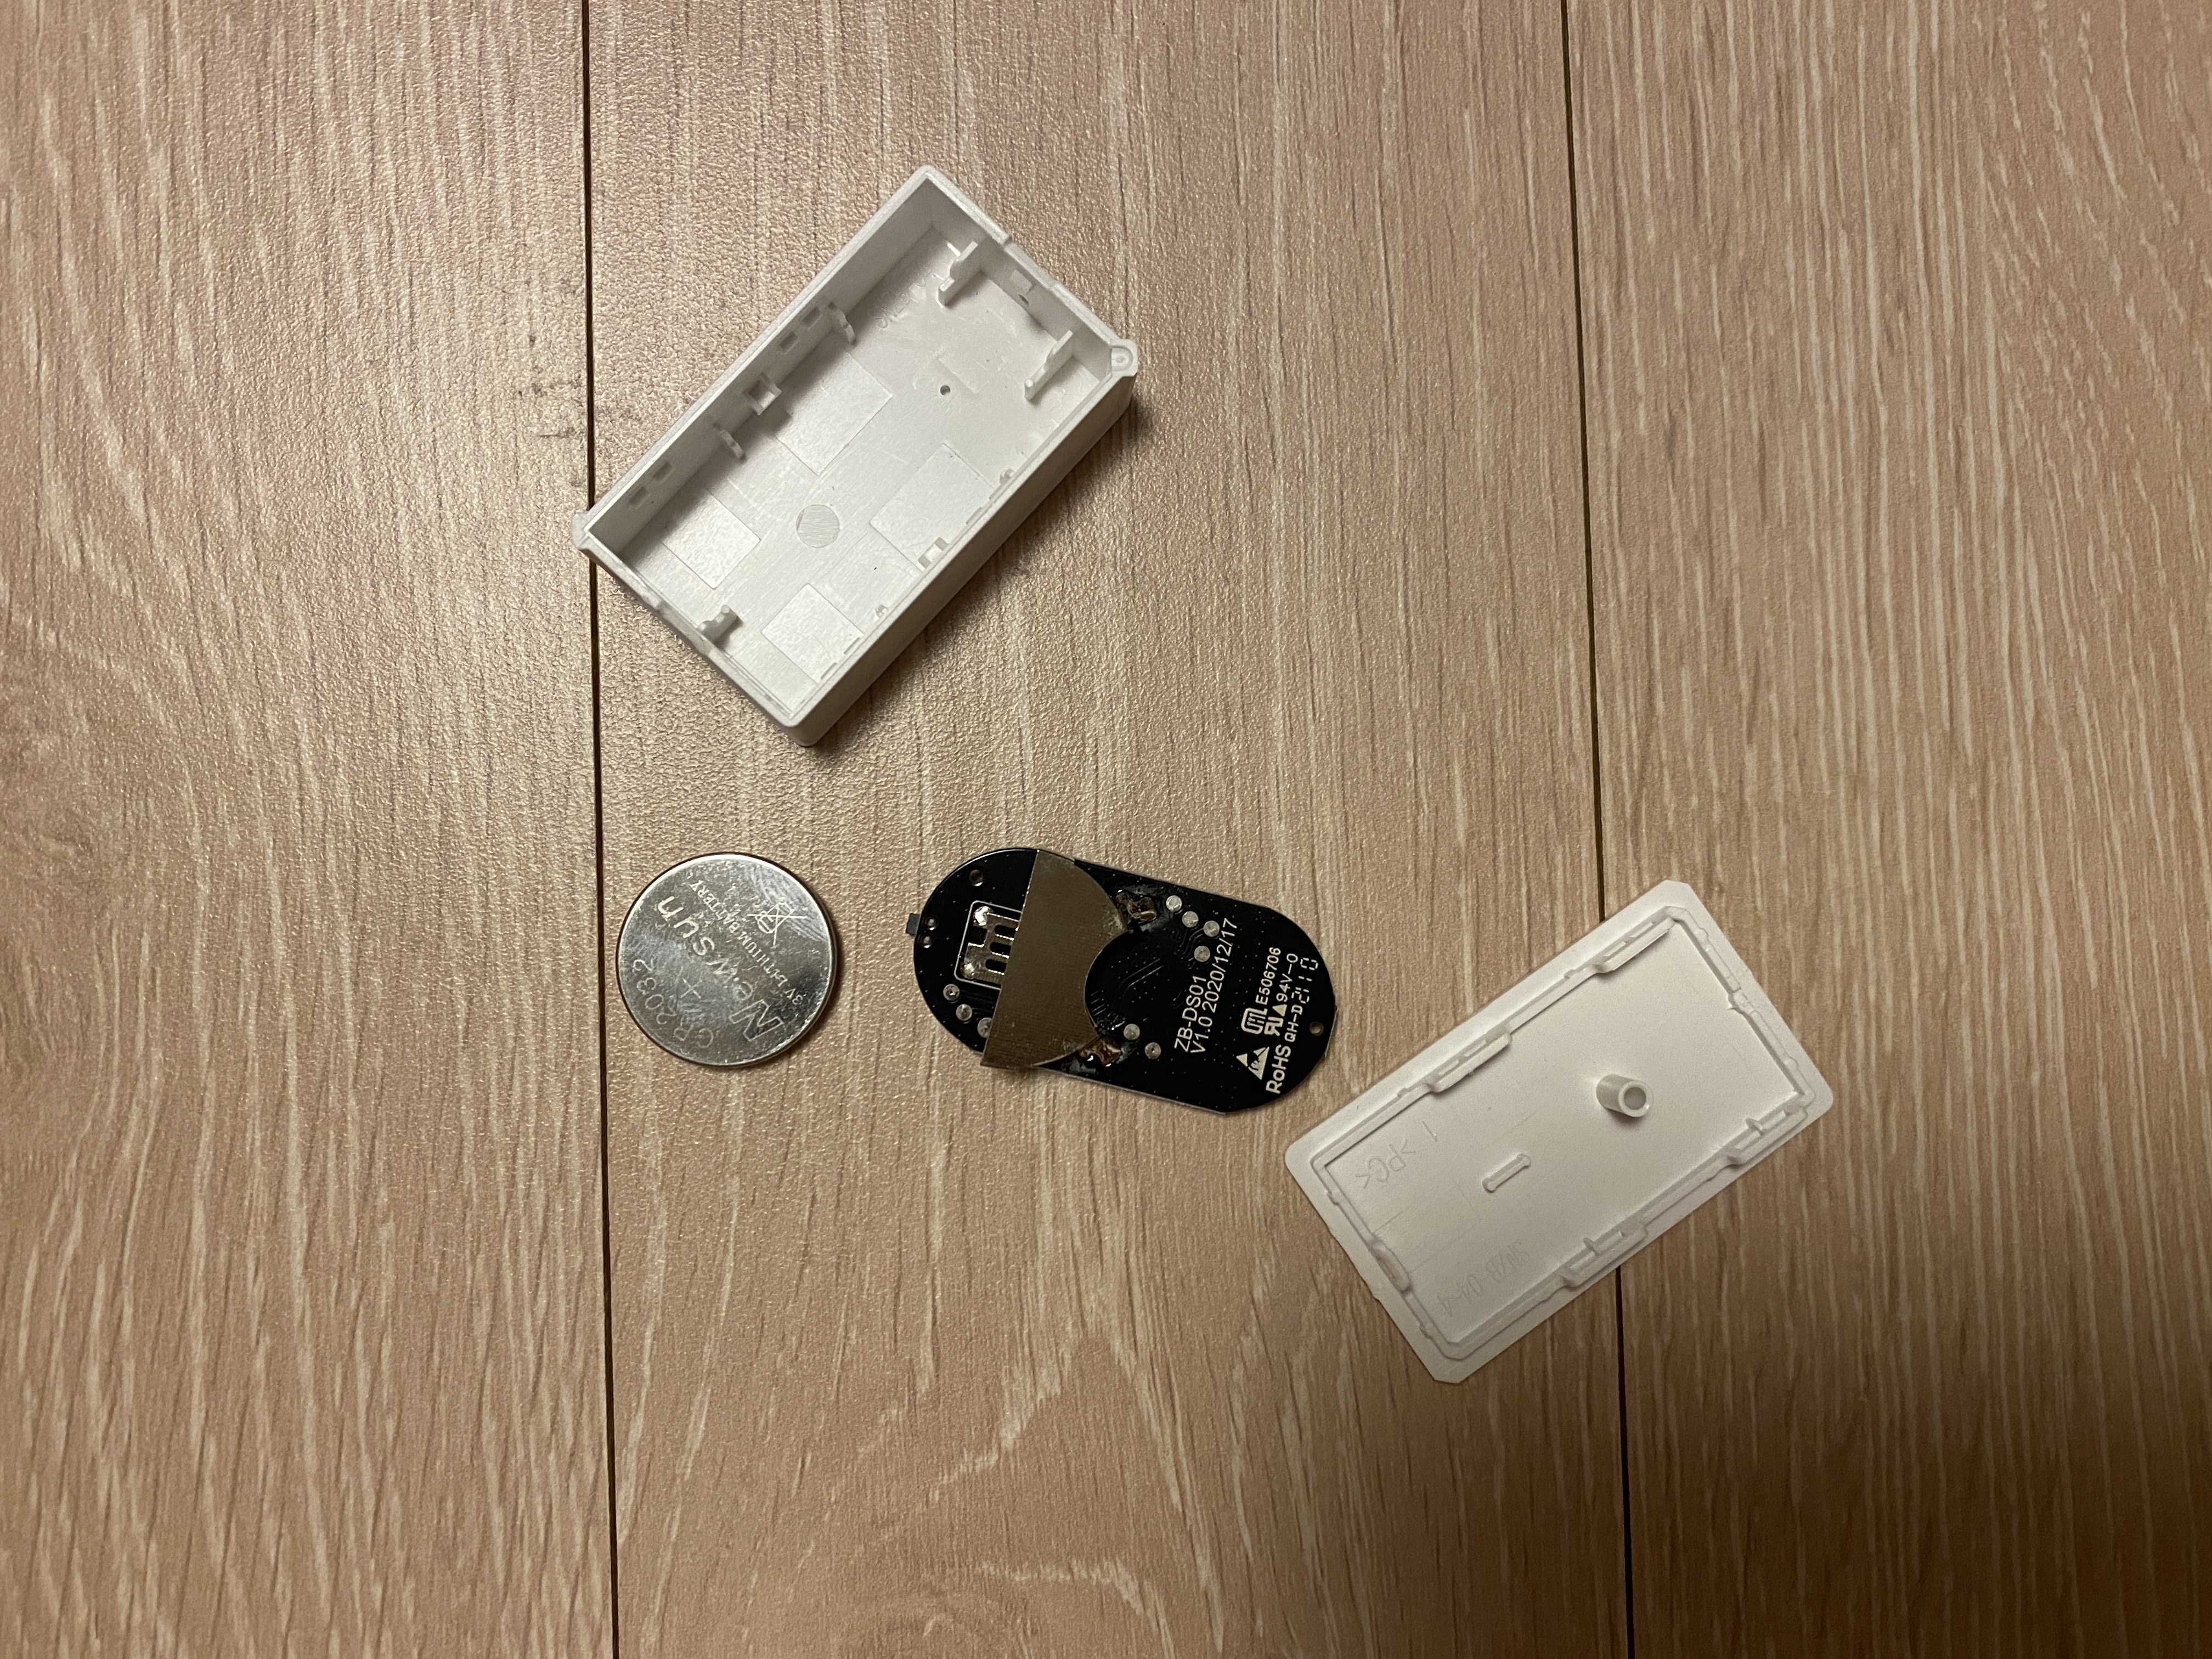
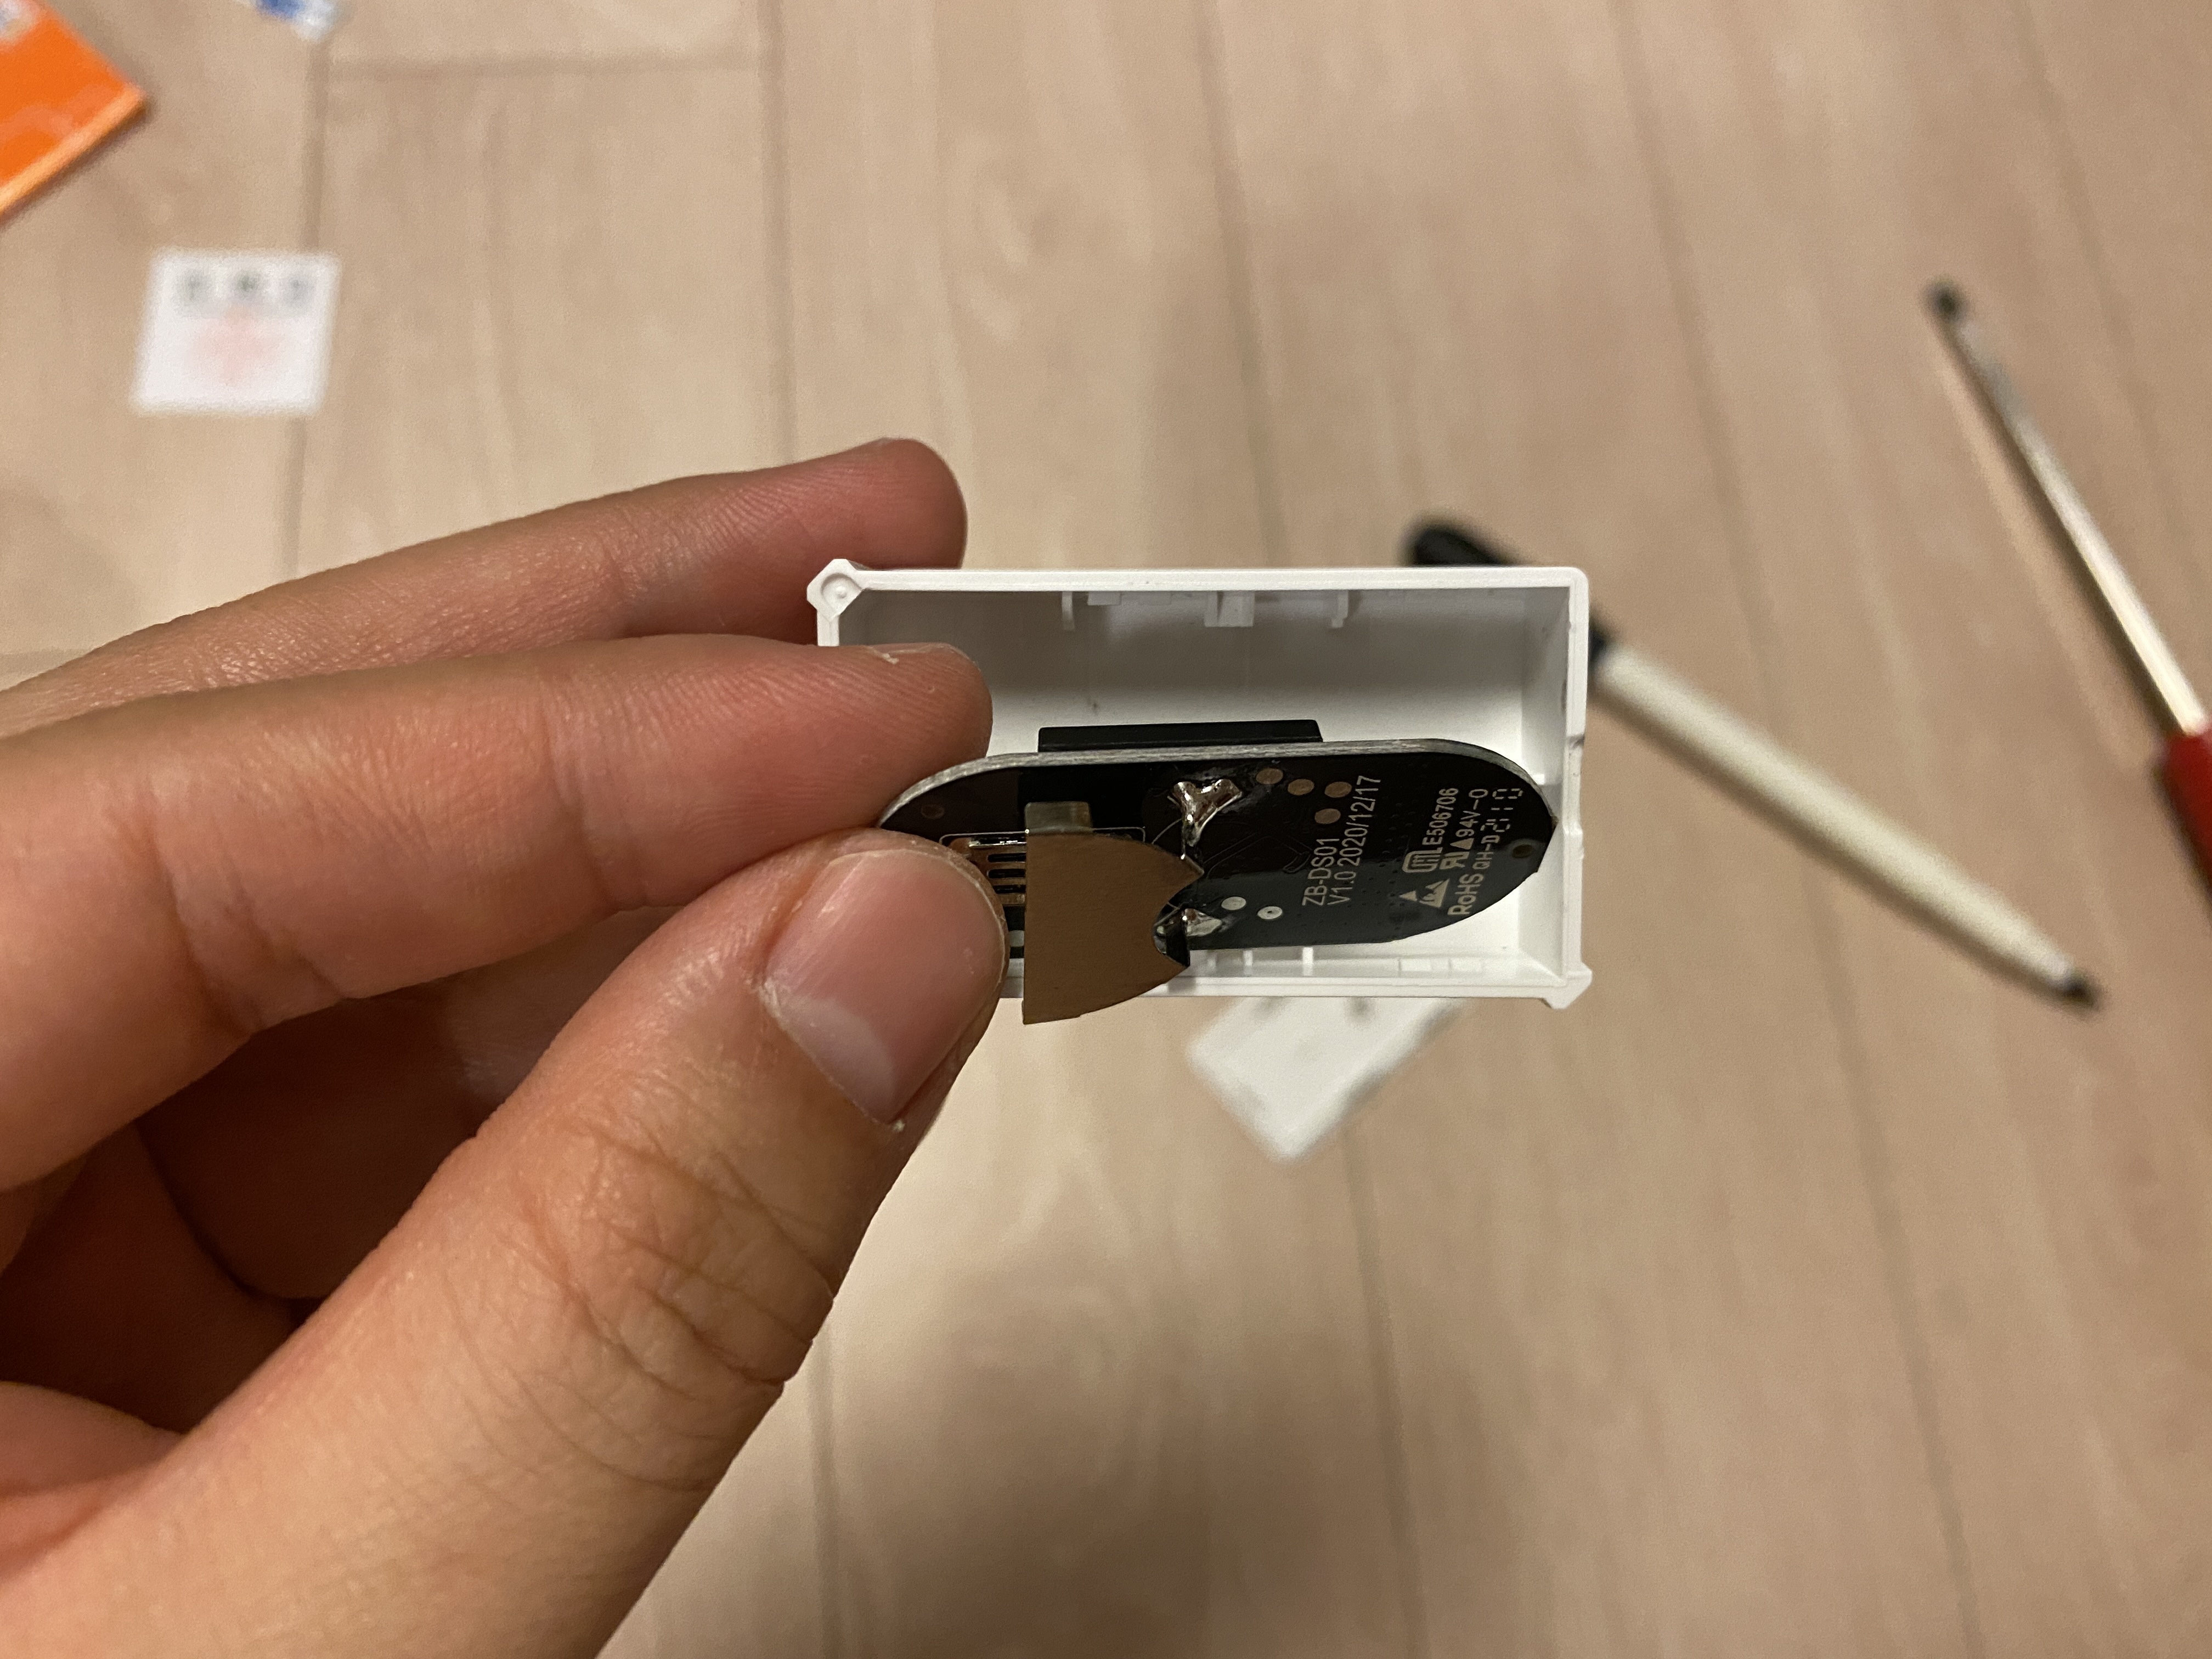
Disassemble the Sonoff SNZB-04. The case is simple enough to open with just a fingernail — no screwdriver needed. Inside, you’ll find a CR2032 battery and a small PCB.
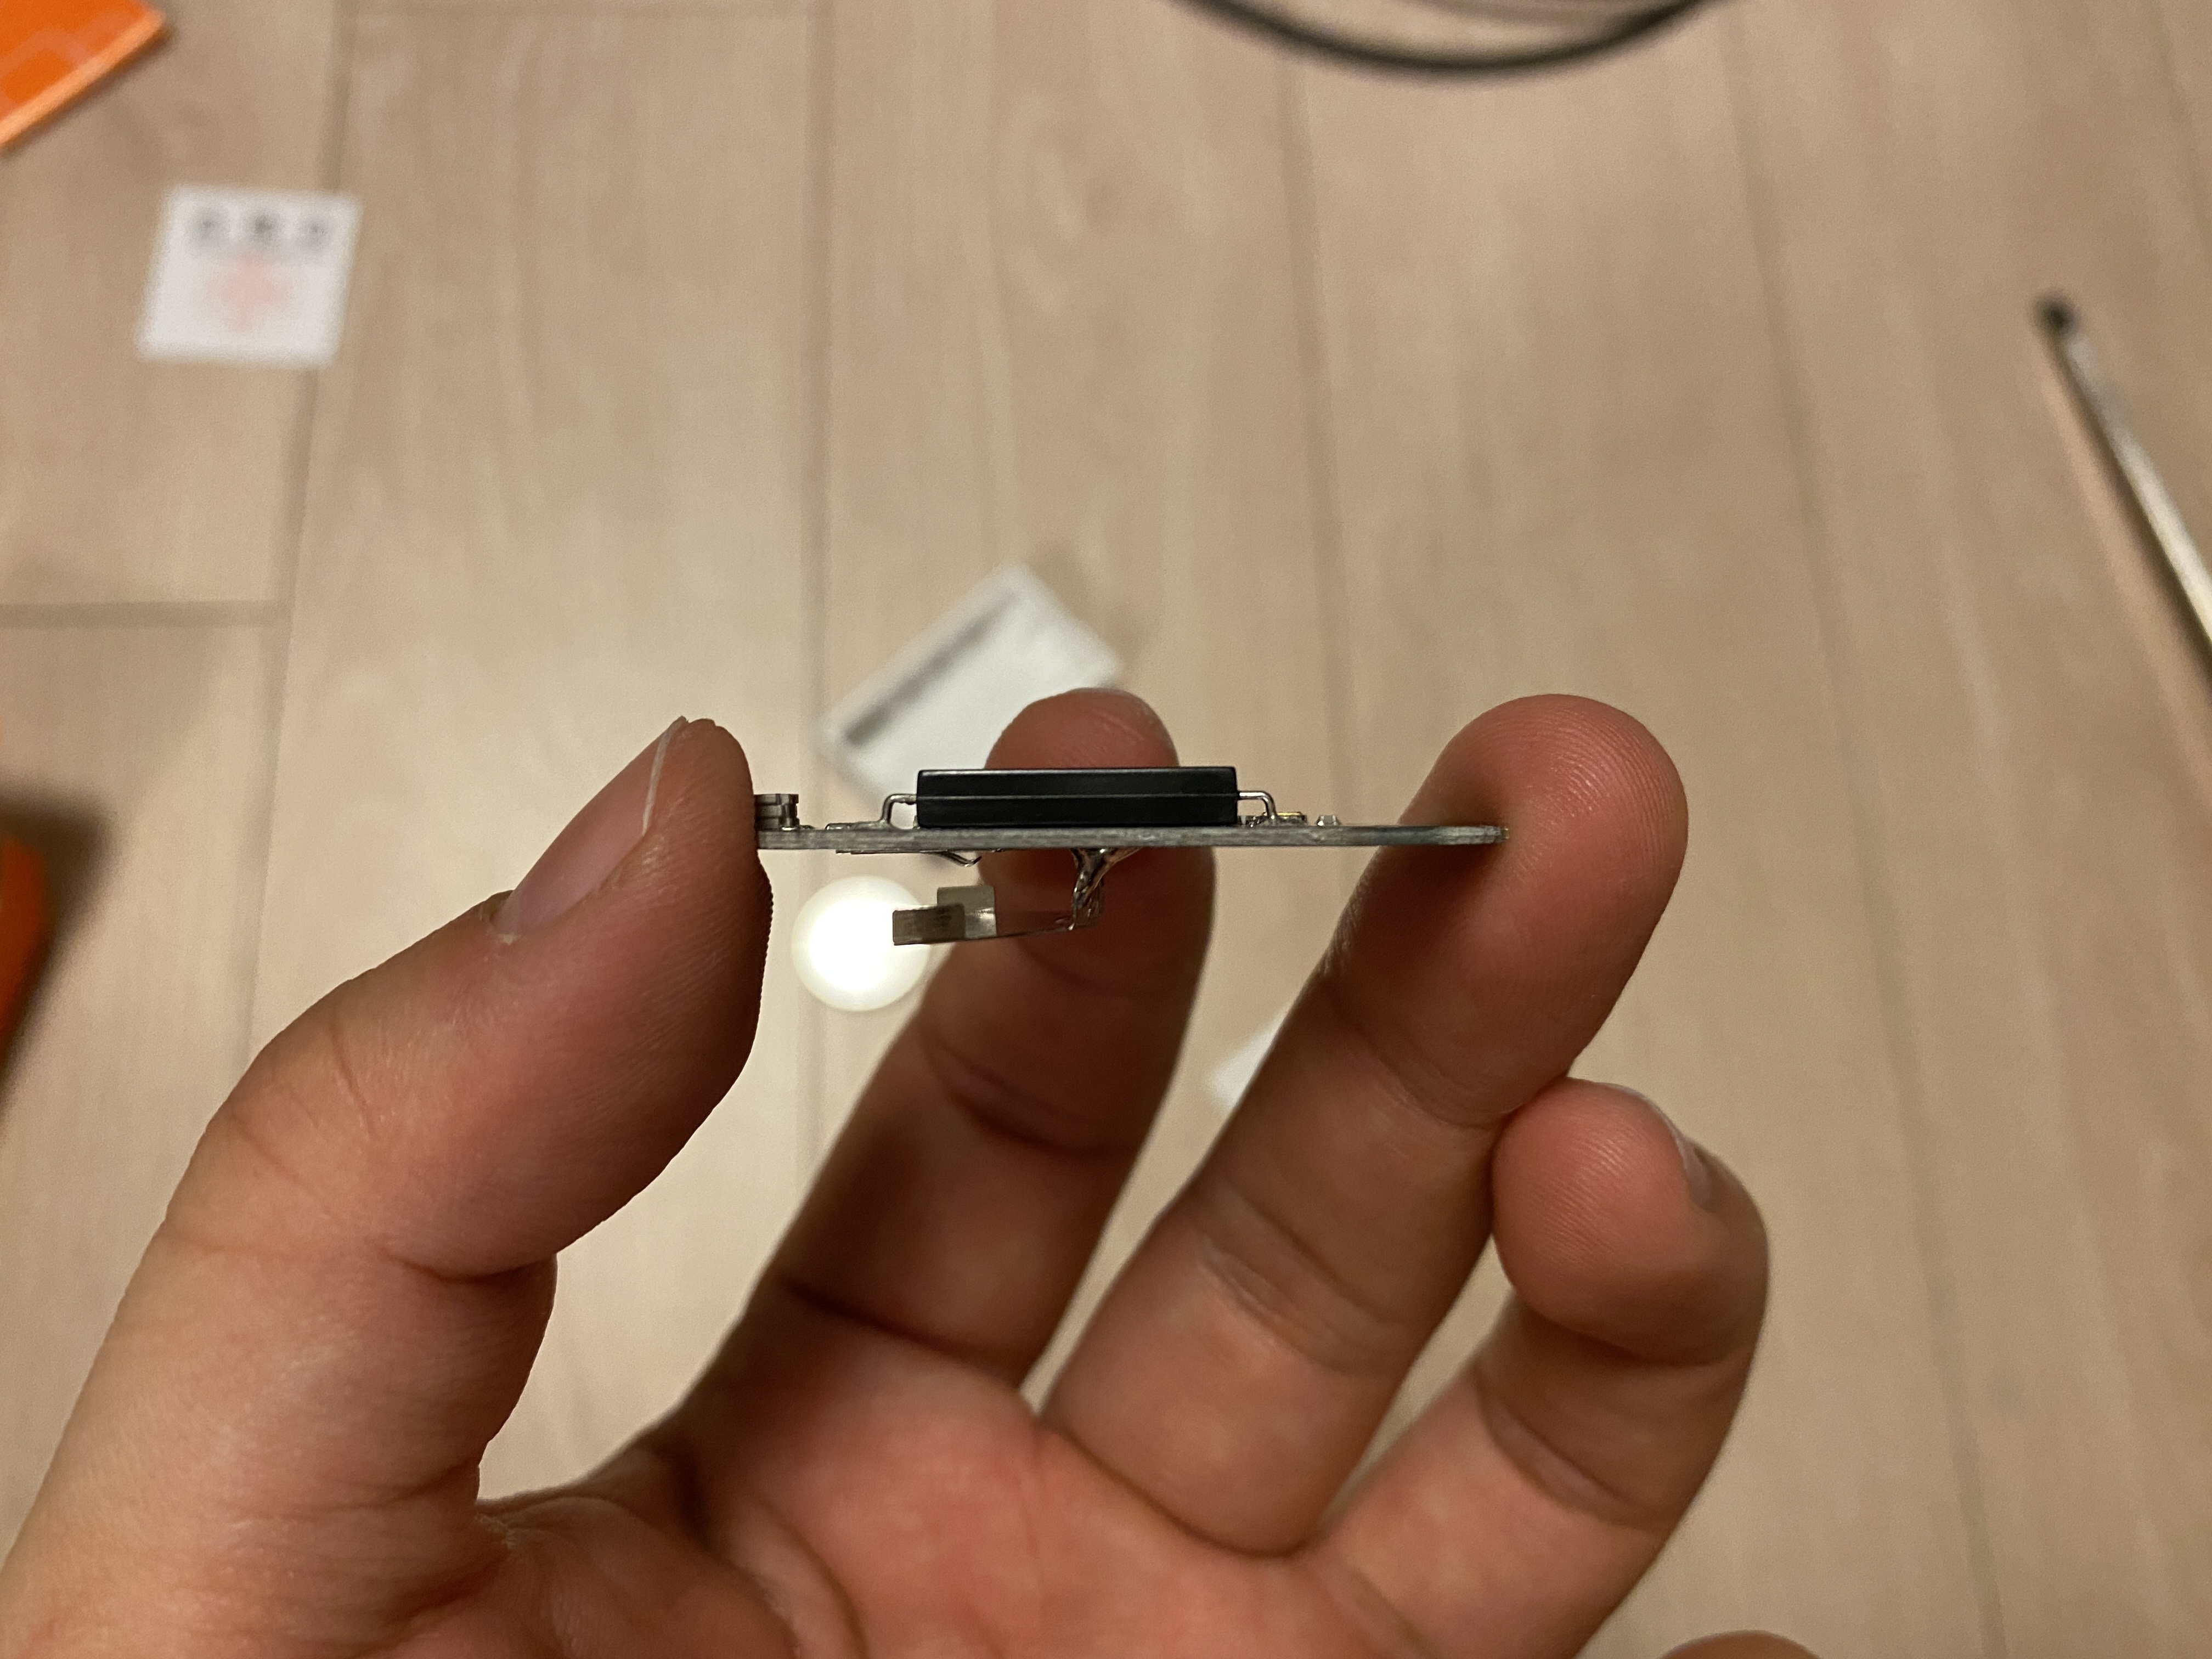
Take the PCB out and look at it from the side — you’ll see the reed switch. A reed switch is a component with two metal contacts sealed inside a glass tube that responds to external magnetic fields. By connecting wires to both terminals of this reed switch, you can control the circuit externally with a thin-film contact sensor.
4. Modification
4.1. Case Modification
First, drill a small hole in the side of the door sensor case for the wire to pass through. It only needs to be big enough for two thin wires. The plastic is thin, so it penetrates easily — keep the drill speed low and go slowly to avoid cracking.
4.2. Wiring
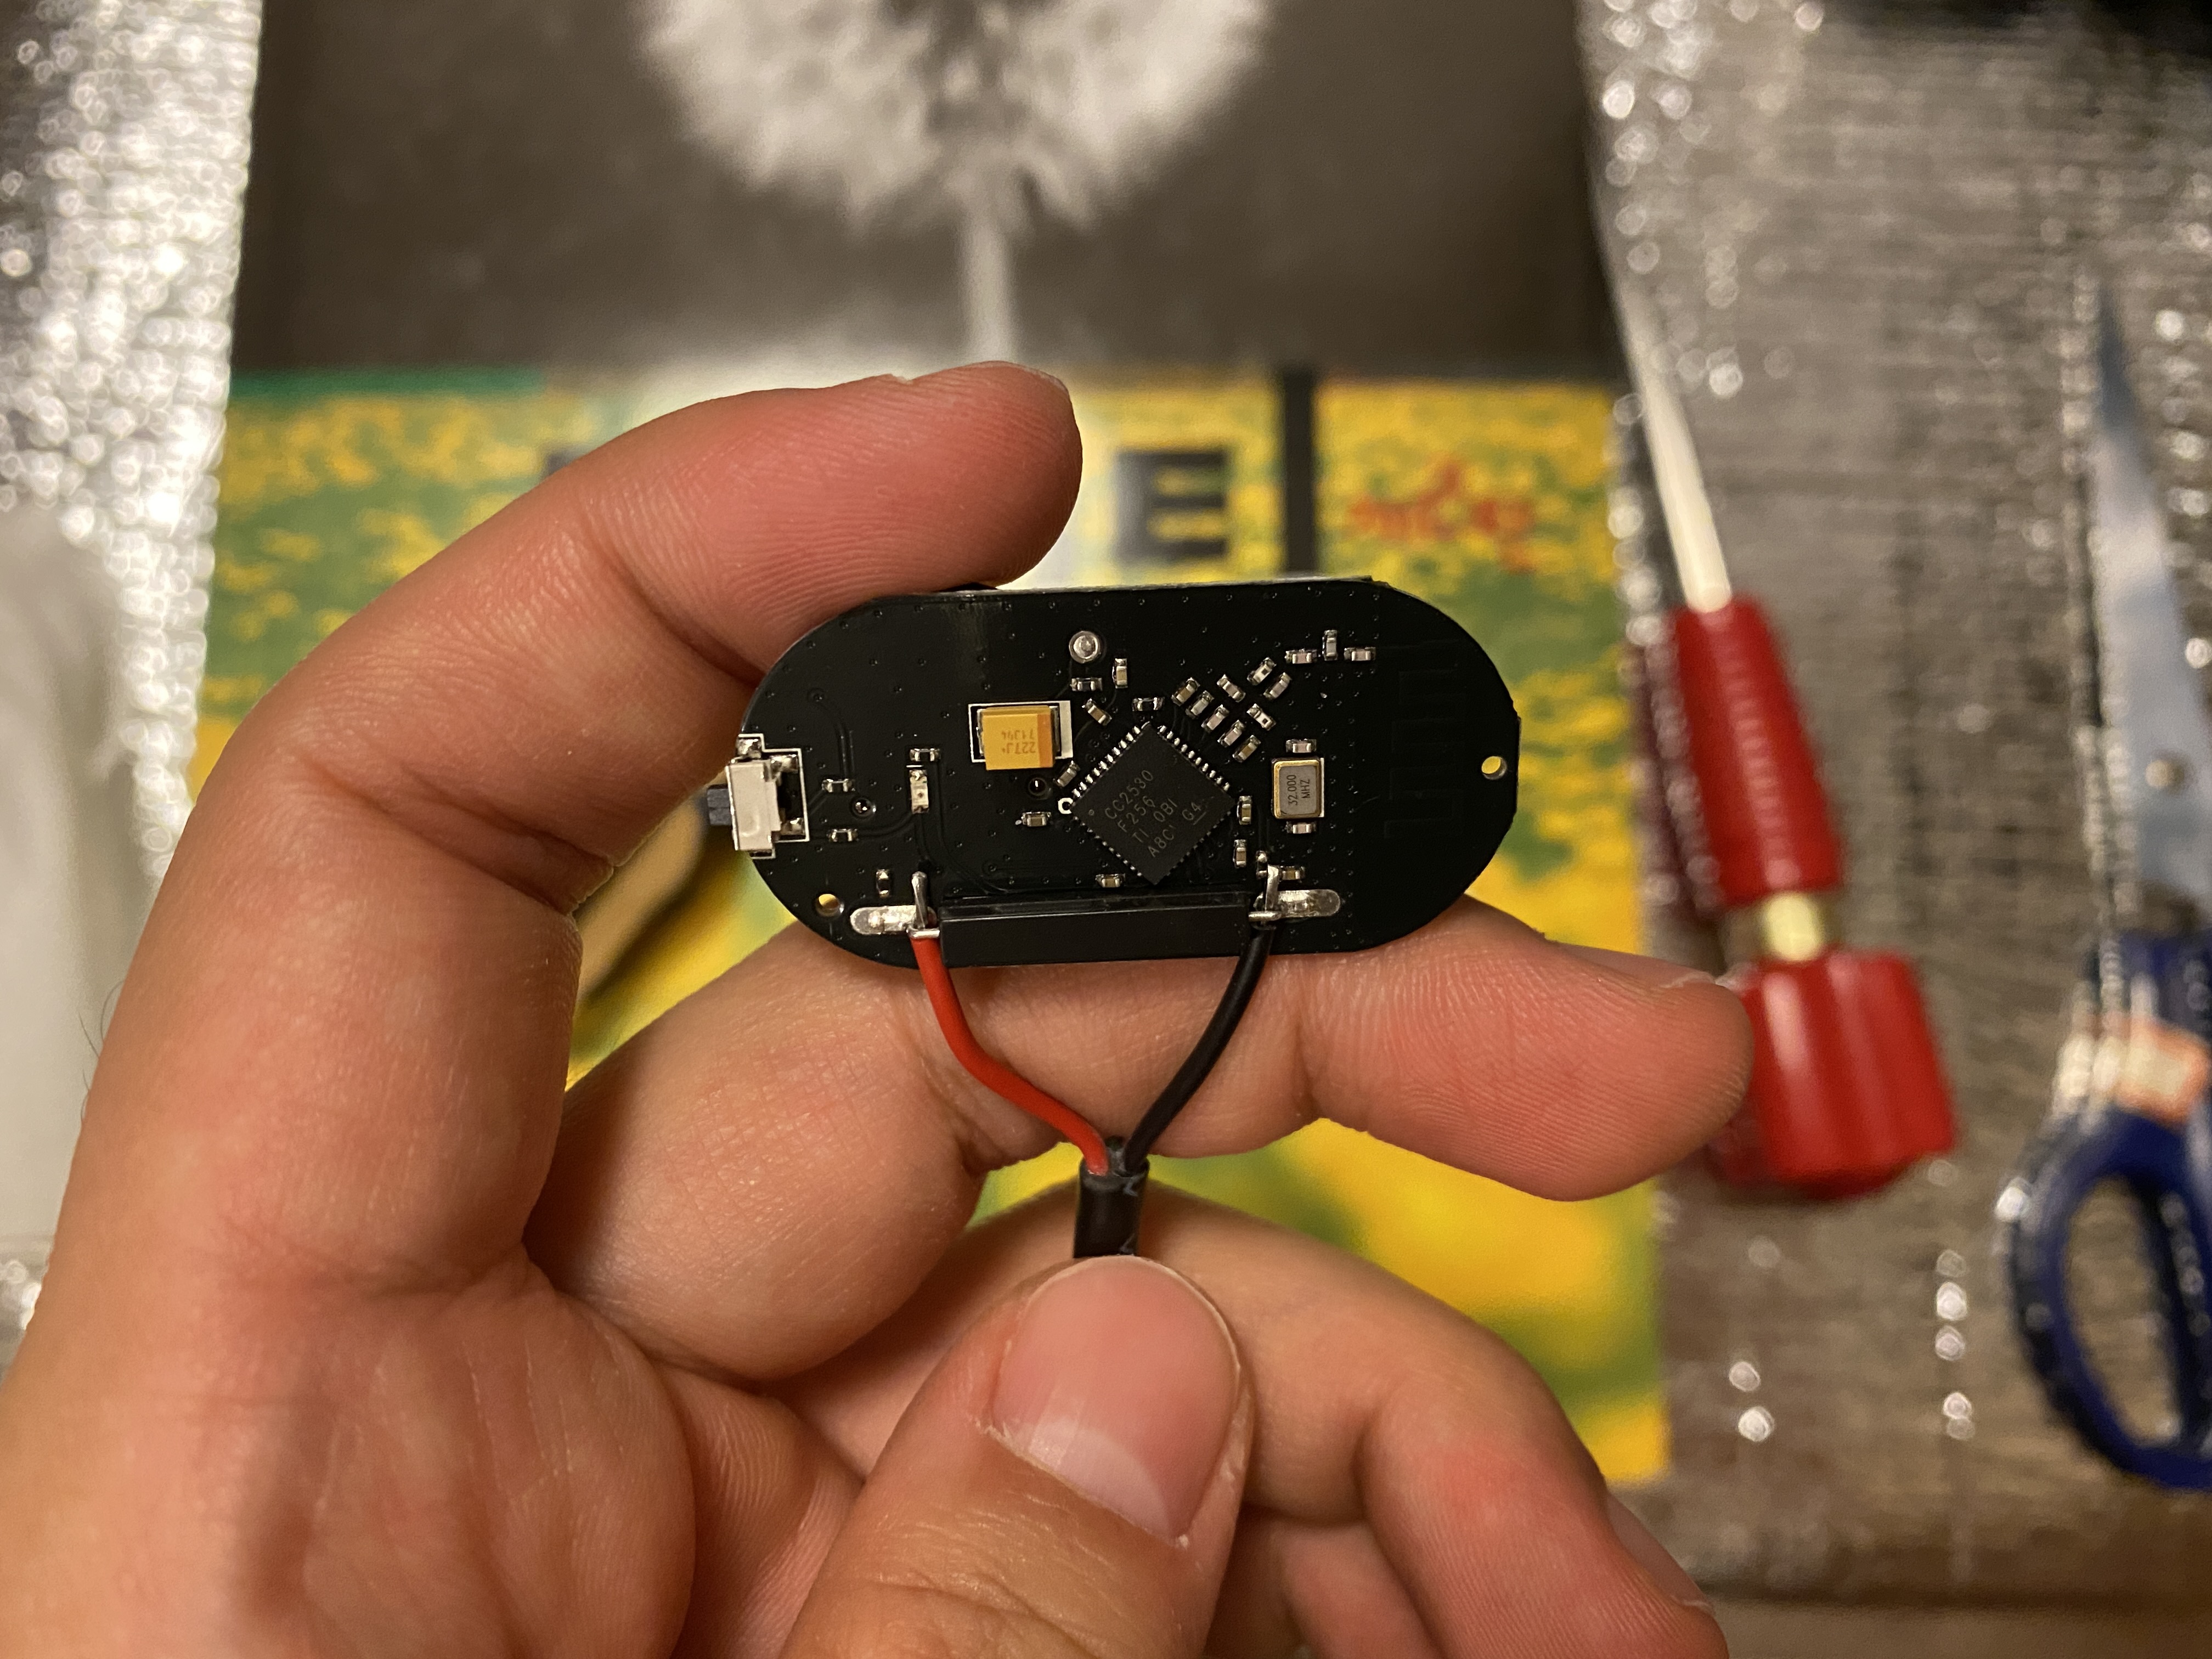
Wrap the 2-conductor wire around both contacts of the reed switch on the PCB. I didn’t want solder fumes in the house, so I skipped the soldering iron and just tightly wrapped the wires around the terminals. The reed switch itself is very small, making the job a bit tricky, but wrapping the wire tightly around the contacts is enough for a solid connection. There’s no polarity, so it doesn’t matter which wire goes where.
4.3. Reassembly
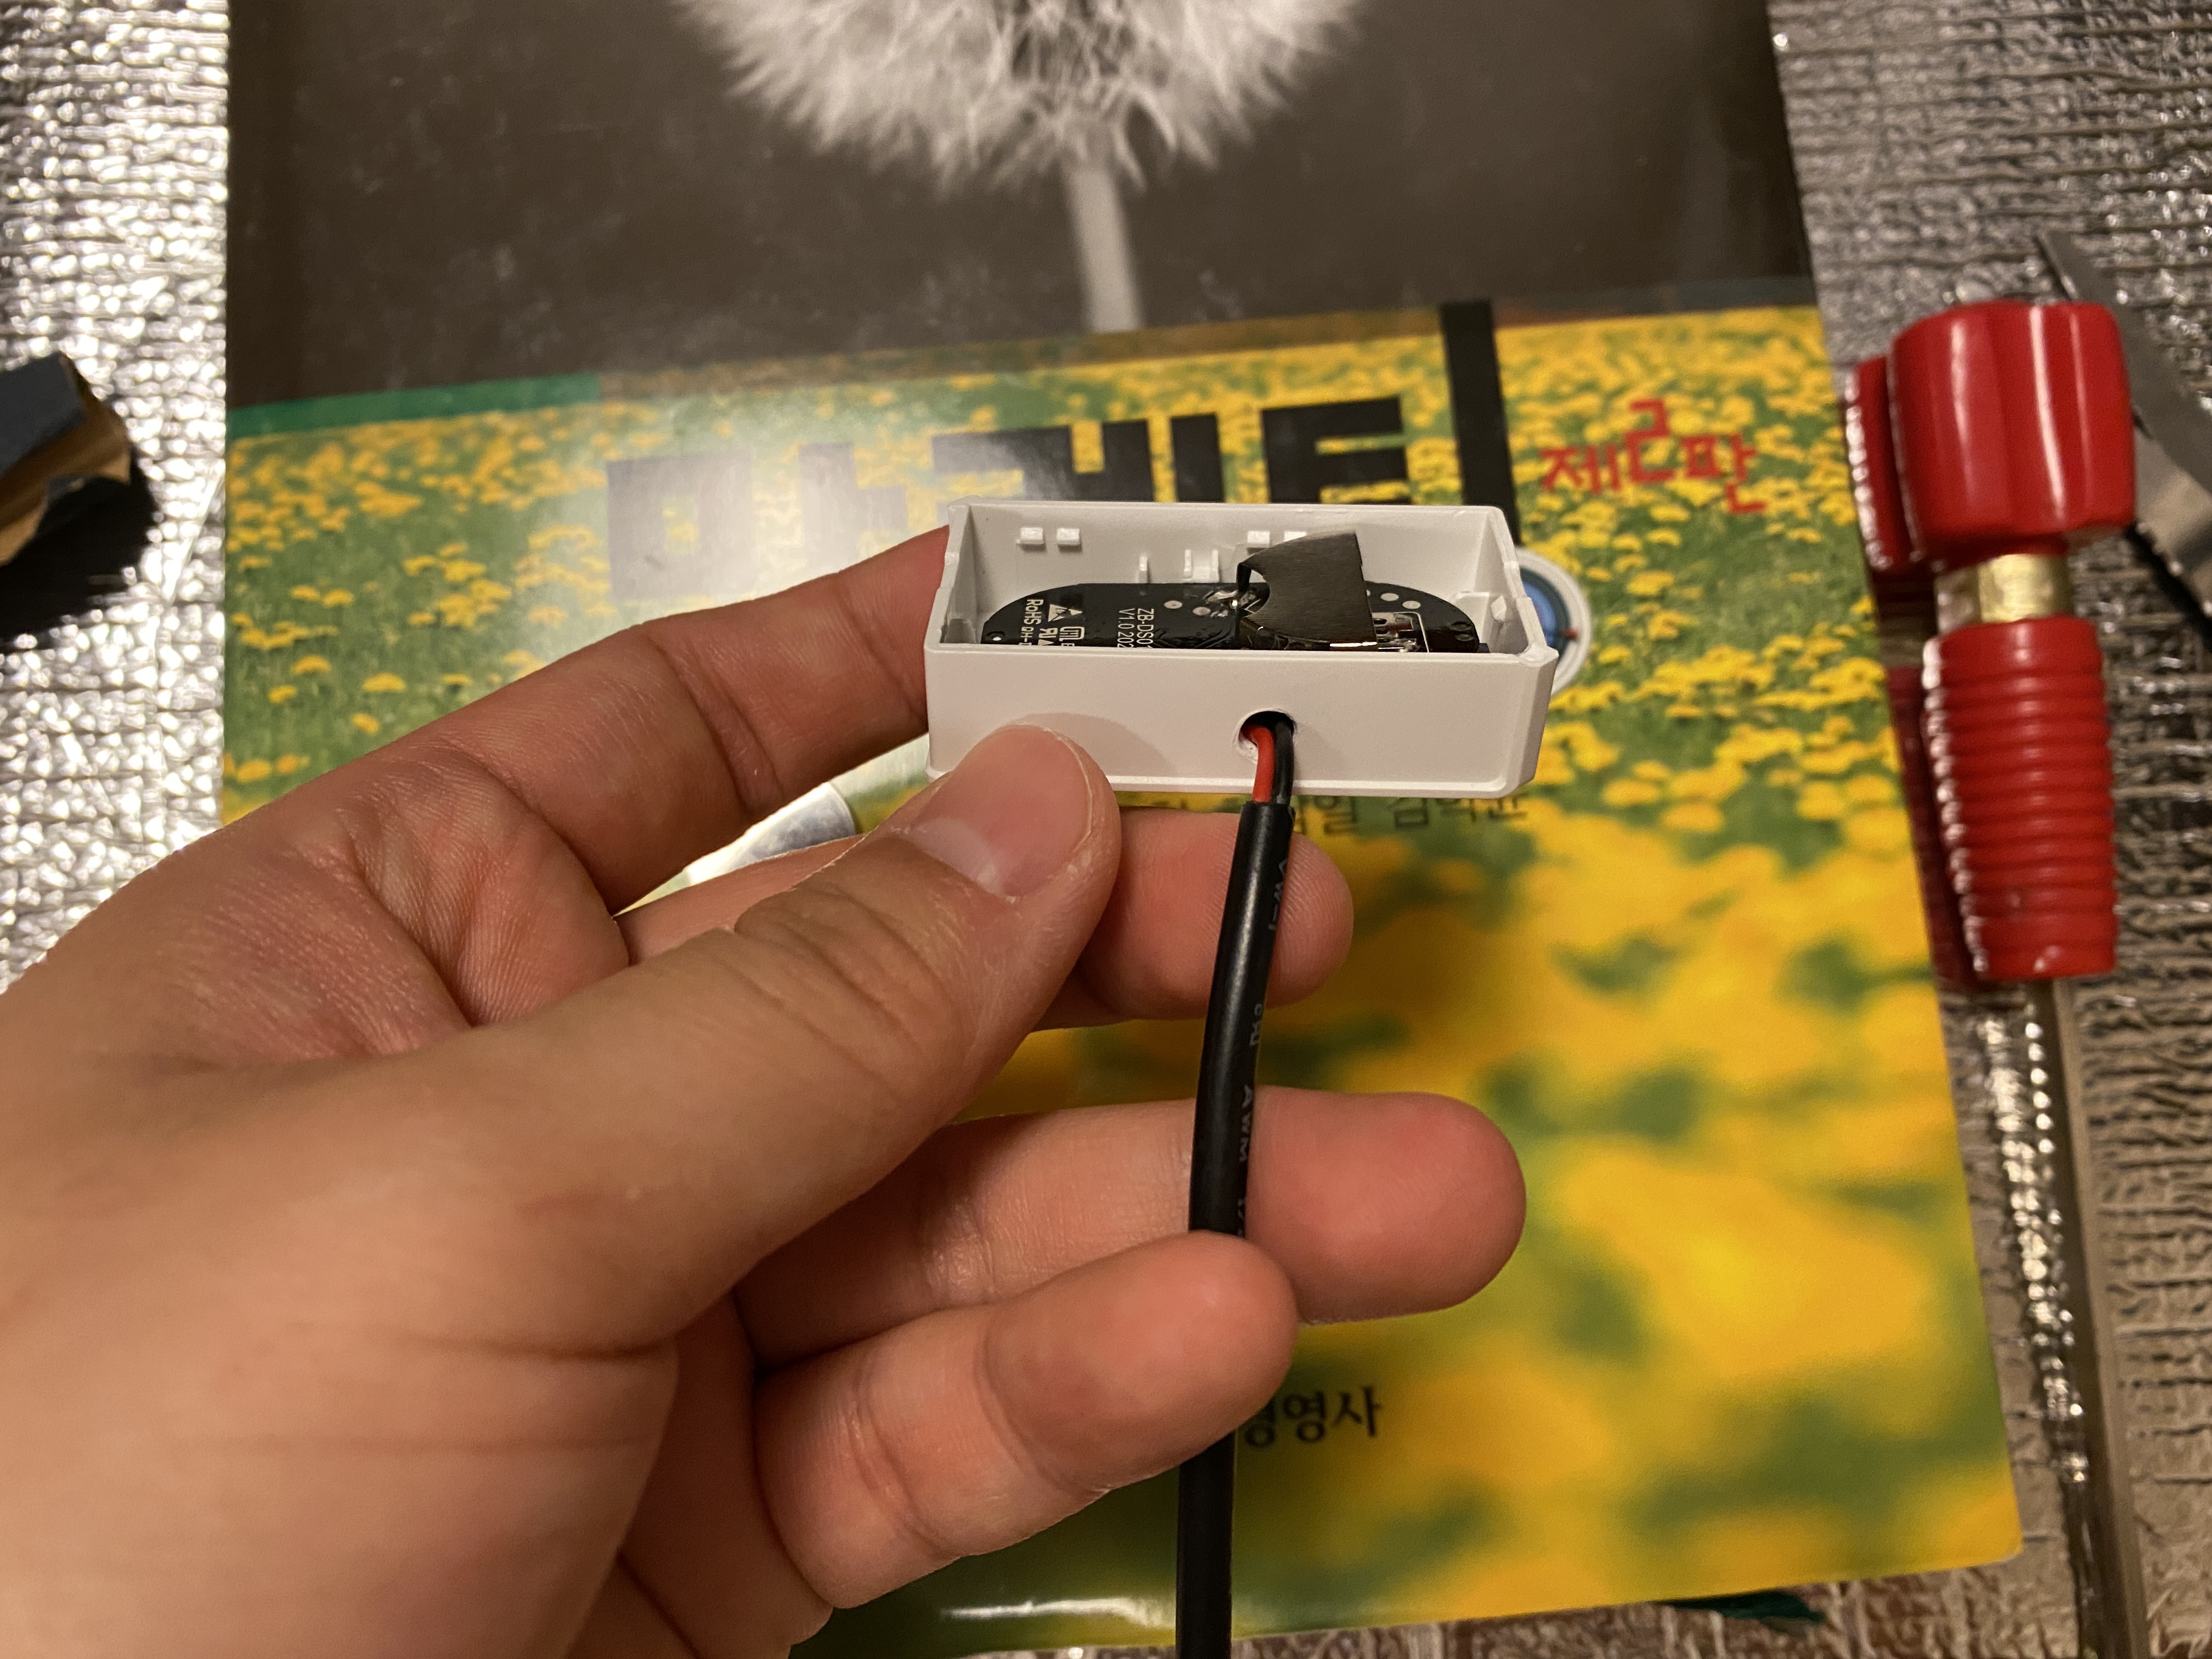
Once wiring is done, route the wire through the drilled hole, then put the PCB and battery back in the case. Tuck the wires neatly so they don’t get pinched, and snap the cover back on. The modification is complete.
5. Result and Use Cases
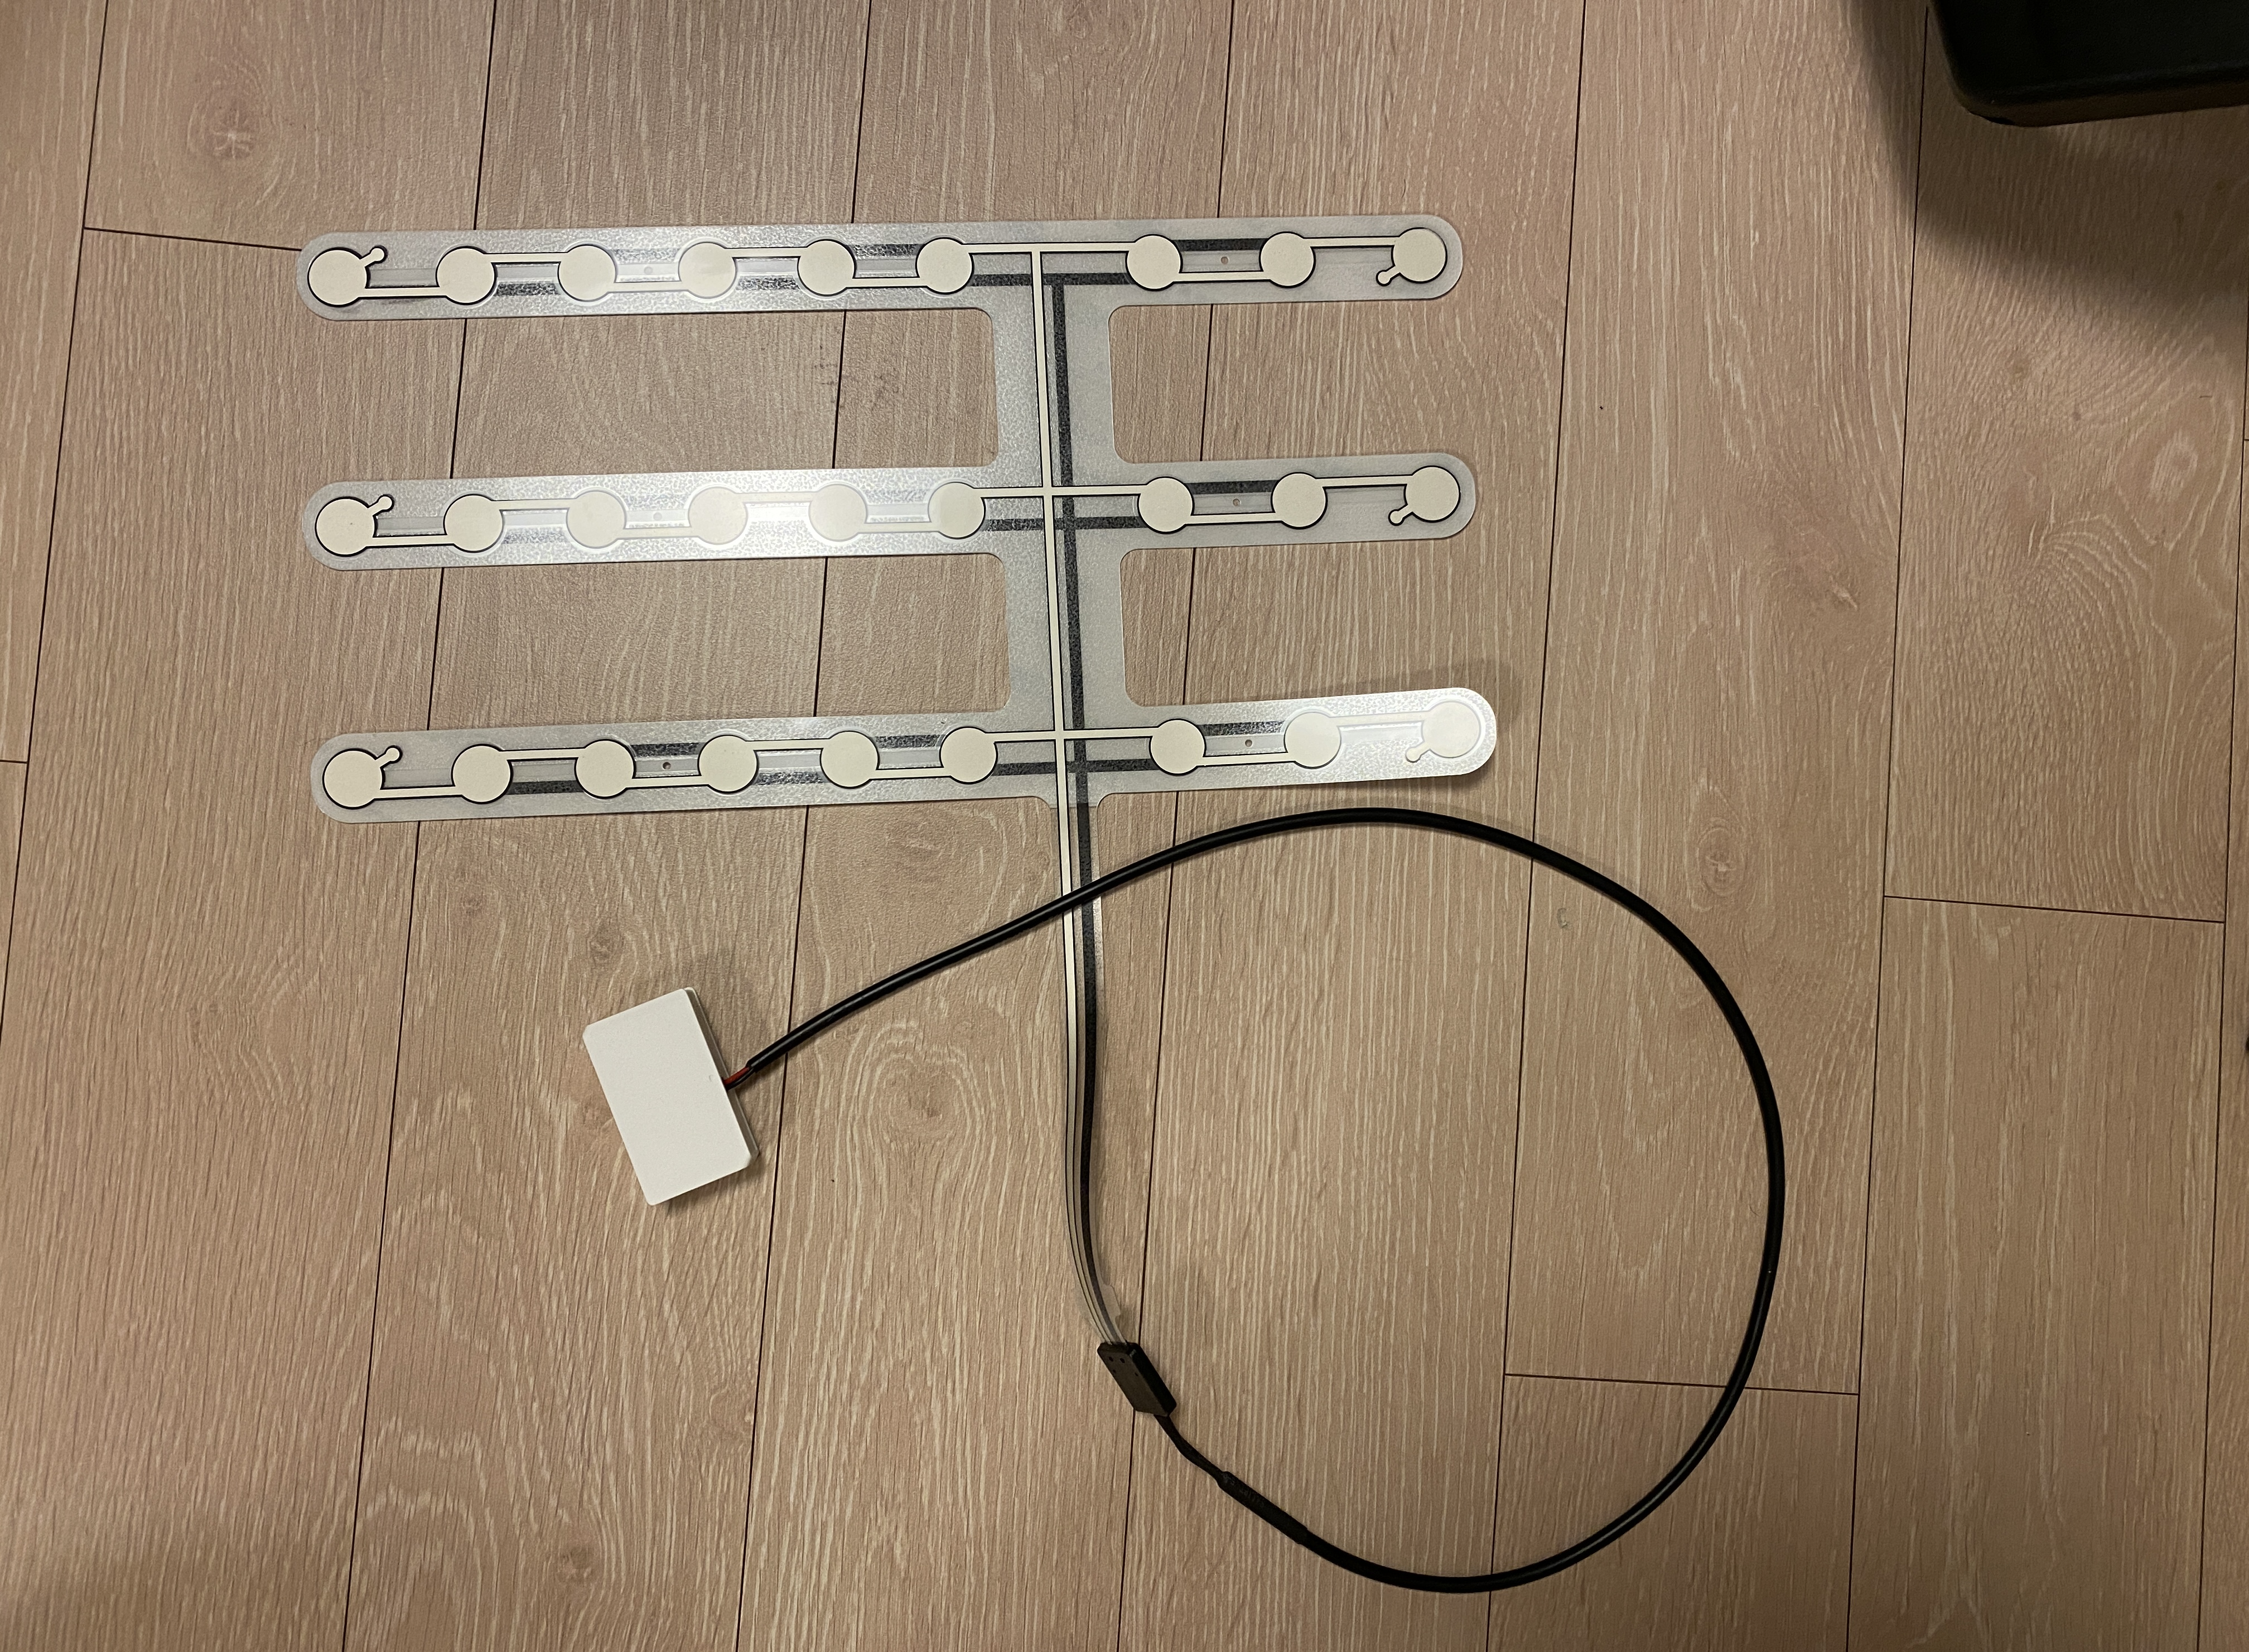
After reassembly, connect the other end of the wire to the thin-film contact sensor. The finished product looks like a door sensor body with a cable running out to a thin-film contact sensor strip.
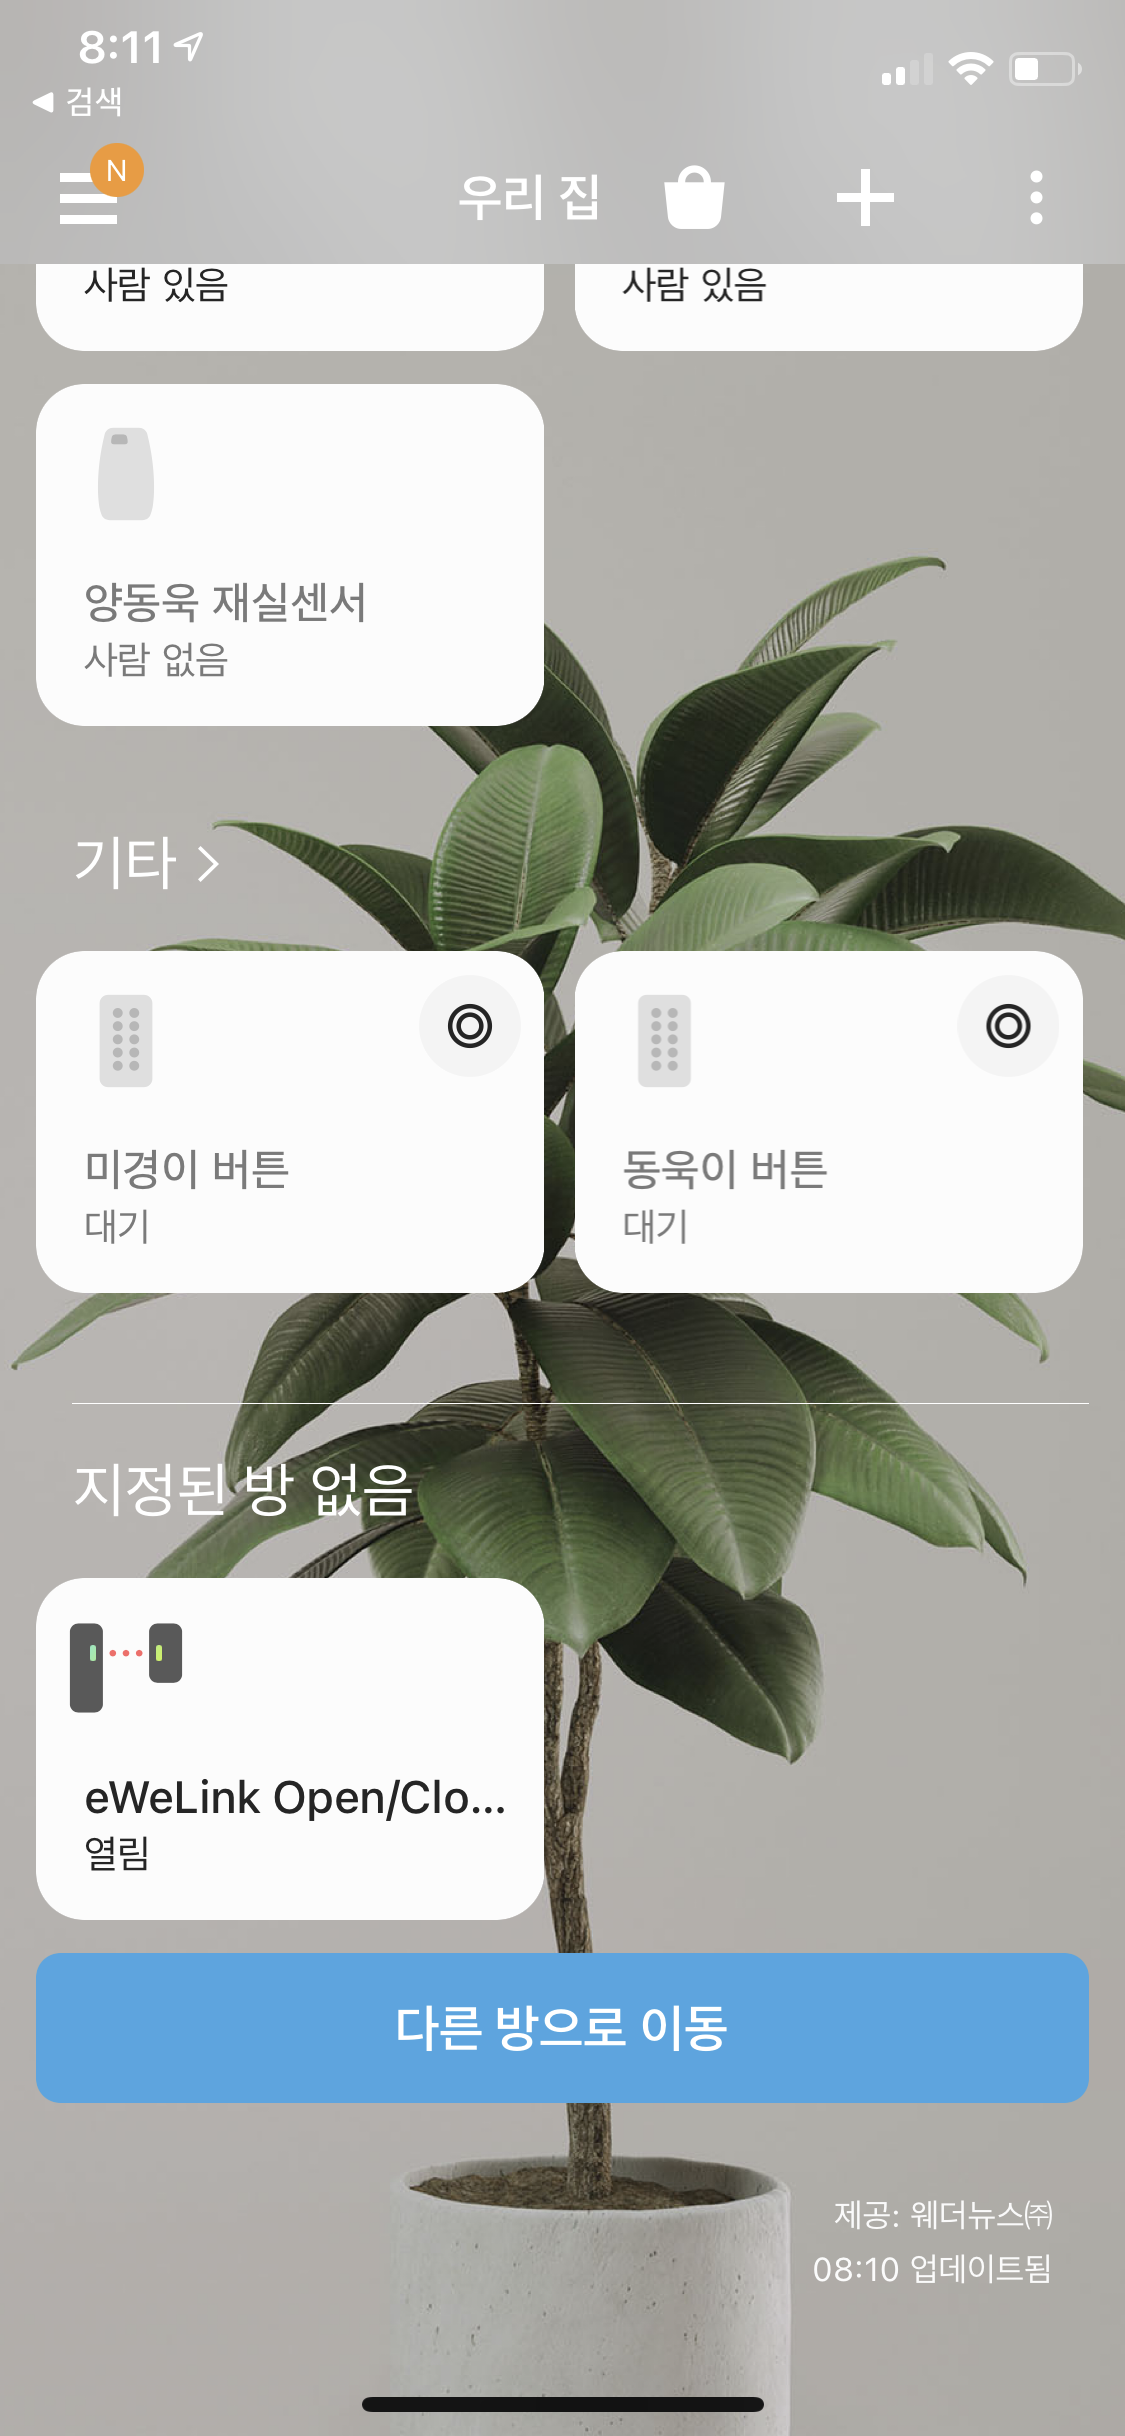
Register the sensor in SmartThings through the eWeLink integration, and you can monitor its open/close state. Setting up automations is straightforward.
- Under a chair cushion: sit down → “closed” → turn on monitor and lights, stand up → “open” → turn off
- Under a kitchen step mat: step on → “closed” → turn on kitchen lights, step off → “open” → turn off
Afterthoughts
The whole mod takes about 30 minutes. The Sonoff SNZB-04 is cheap and structurally simple, so there’s no real risk in trying. You don’t even need a soldering iron — just wrapping the wires tightly around the contacts works fine. Just be careful with the tiny reed switch contacts when wrapping the wires, and control your drill speed when making the hole to avoid cracking the plastic.
After actually using it, the chair automation is especially convenient. Sit down and the monitor and lights turn on automatically; stand up and everything turns off. The kitchen works great too — step onto the mat and the lights come on instantly without reaching for a switch. These small automations really add up to make a home noticeably more comfortable.


Leave a comment